Configure Time Entry Templates
Time Entry Templates
Creating time entry templates allows you to view time entry data in a consistent format when importing time during payroll processing. The pay data typically changes for each payroll process.
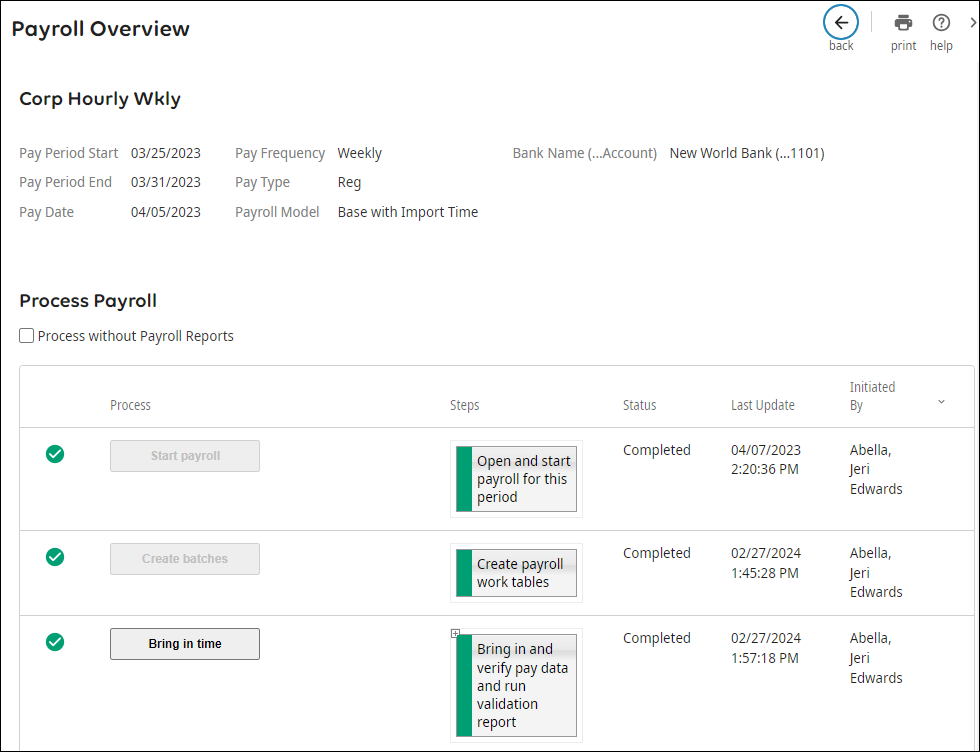
During payroll processing, a grid based on the time entry template is created. The grid provides you with a worksheet for time entry data.
To access the time entry grid from payroll processing, select the View or Edit Time Entry link in the Things I Can Do section.
Payroll information displayed for employees is based on the template setup found under System Configuration > Time Entry Setup > Time Entry Templates. (Time Entry Template setup can also be accessed from Payroll Admin or from the Payroll Gateway.)
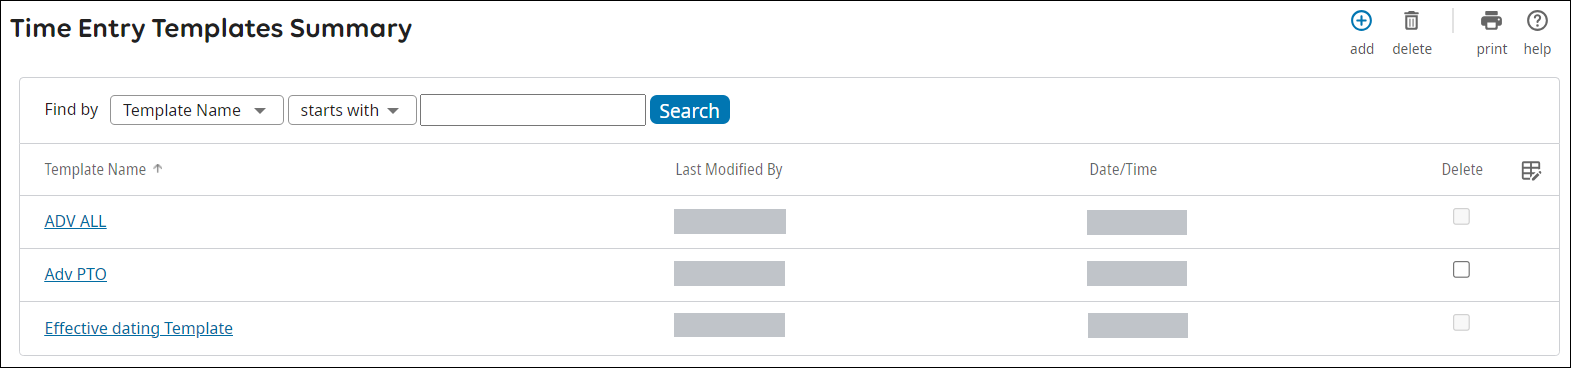
From the Time Entry Templates page, you can add, change, or delete a time entry template.
When you configure the template, you designate which columns of information will be included (for example, earnings including overtime and paid time off, deductions, and hours worked).
Templates are then assigned to a pay group in the Payroll Processing Setup section of a pay group configuration.

- You cannot delete a time entry template that is assigned to a pay group. Remove the time entry template from the assigned pay groups before deleting the time entry template.
- For off-cycle payrolls, assign a different time entry template than the template selected for regular time entry.
Time Entry Templates Management
Manage time entry templates using the Time Entry Templates Summary page.
- View time entry templates
- Add a time entry template
- Change a time entry template
- Delete a time entry template
Time entry pages are used to view or enter employee payroll information. If you have multiple pay groups set up for different types of employees, you can design a different template for each pay group, or you can use the same template for multiple pay groups. You can create an unlimited number of time entry templates.
Time Entry Template Configuration Fields
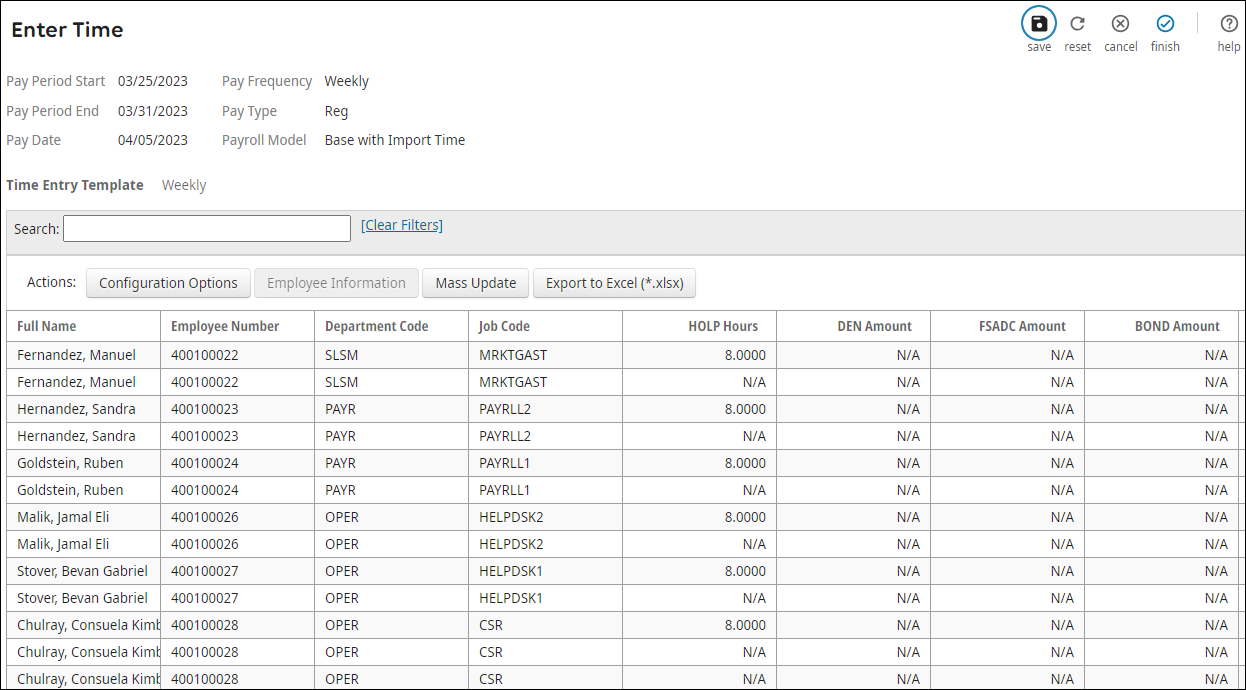
Time entry templates enable you to view time entry data in a consistent format when importing time during payroll processing. The template defines the columns of information to display for entry on the Enter Time page.
| Page Name | Field or Section Name | Description |
|---|---|---|
| Template Details | Description | Concise description of the time entry template. |
Submission Options
| Use when the time entry will be submitted regardless of errors. Only valid records are imported; errors are not imported. | |
Include Employees with the Following Status
| When checked, employees with the selected status are included. | |
Additional Data
| When Additional Data options are checked, the additional data is included in the Time Entry Worksheet. | |
Schedule Hours and Amounts
|
| |
| Employee Columns | Move desired employee columns from the Available column to the Selected column. | Only selected employee columns appear in the Time Entry Worksheet. |
Selected Column Headings
| The Column displays the actual column name. The Time Entry Worksheet displays the value entered in the Column Heading field. | |
| Earnings Columns | Move desired Earnings columns from the Available column to the Selected column. | Only selected Earnings appear in the Time Entry Worksheet. |
Selected Column Headings
| When an Earnings option is selected,
| |
| Deductions Columns | Move desired Deductions columns from the Available column to the Selected column. | Only selected Deductions appear in the Time Entry Worksheet. |
Selected Column Headings
| The Column displays the actual column name. When a Deduction is selected,
| |
| Cost Center Columns | Move desired Cost Center Columns from the Available column to the Selected column. | Only selected Cost Center Columns appear in the Time Entry Worksheet. |
Selected Column Headings
| When a Cost Center Column is selected,
| |
| Column Order | Description
| The Time Entry Description is displayed. Use the arrows to arrange a default value for display in the Time Entry Worksheet. (The order can be changed in the Time Entry Worksheet when processing payroll.) |
Add a Time Entry Template
The following steps demonstrate how to configure new time entry templates using the Add/Change Time Entry Templates work event.
Add or Change Time Entry Template Details
Add or change payroll-related information for an employee during time entry on the Template Details page of the Adding or Changing Time Entry Template process.
You can choose to display different types of data, such as:
- Expanded information sections - Include information like organizational assignments and pay period information.
- Pay rates - Only appear if the Display Expanded Information section is selected.
- Multiple locations - Shows when an employee has multiple work locations and taxes are paid for each of those locations.
- Multiple jobs - Shows when an employee works multiple jobs within the same pay period.
- Multiple charge dates - When selected, the user may designate if it is editable and customize the column heading.
Configure Time Entry Employee Columns
Configure employee information for the Time Entry template on the Employee Columns page.
The template must include at least one of the following:
- Employee Number
- Social Security Number
- From the Employee Columns page, select the employee information to include on the Time Entry template.
- In the Selected Column Headings section, enter a column heading for each item in the Selected pane, if needed.
- Select Next.
Configure Time Entry Earnings Columns
Configure earnings information for the Time Entry template on the Earnings Columns page.
Earnings appear as a column on the Time Entry template in order to import and edit employee payroll hours and earnings amounts.
Configure Time Entry Deduction Columns
Configure deductions information for the Time Entry template on the Deductions Columns page.
Each employee deduction appears as a column on the Time Entry template; enter the employee deduction amount in the applicable column.
- From the Deductions Columns page, select the deductions to include on the Time Entry template.
- Edit the name of the column heading and select if the column can be editable during payroll time entry.
- Select Next.
Configure Time Entry Cost Center Columns
Configure cost center information for the Time Entry template on the Cost Center Columns page.
Configure Time Entry Column Order
Configure the default column order for a Time Entry template on the Column Order page.
- From the Column Order page, set the order for the selections.
- Select Next.
Review and Submit Request Information
Review your selections on the Summary page. If needed, return to the applicable page to make edits.
© 2024 UKG Inc. All rights reserved. For a full list of UKG trademarks, visit https://www.ukg.com/trademarks. All other trademarks, if any, are the property of their respective owners.
This document and all information contained herein are provided to you "AS IS" and UKG Inc. and its affiliates (collectively "UKG") make no representation or warranties with respect to the accuracy, reliability, or completeness of this document, and UKG specifically disclaims all warranties, including, but not limited to, implied warranties of merchantability and fitness for a particular purpose. The information in this document is subject to change without notice. The document and its content are confidential information of UKG and may not be disseminated to any third party. No part of this document or its content may be reproduced in any form or by any means or stored in a database or retrieval system without the prior written authorization of UKG. Nothing herein constitutes legal, tax, or other professional advice. All legal, tax, or other questions or concerns should be directed to your legal counsel, tax consultant, or other professional advisor. All company, organization, person, and event references are fictional. Any resemblance to actual companies, organizations, persons, and events is entirely coincidental.