Create and Manage Cases
Create and Manage Customer Cases
In the UKG Community ™, you can create cases to resolve issues. You can also manage these cases to view your case progress, communicate with your support representative, and accept or reject a case resolution.
Create a Case
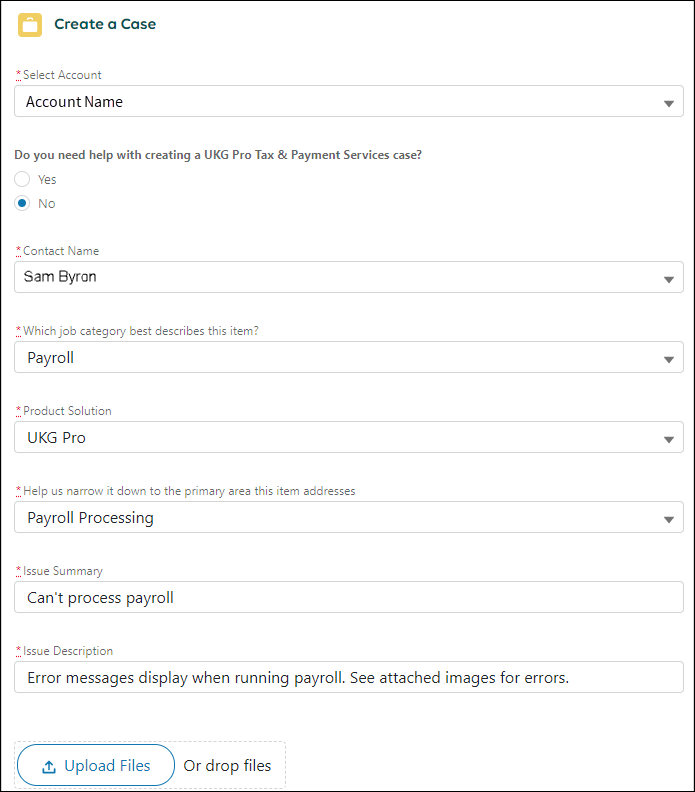
Create a case in the UKG Community to get support for your issue. Before creating a case, be sure to complete the recommended training and search our product documentation, knowledge articles, and community discussions for answers.
- Select Submit. Your case will be routed to an internal support representative, who will contact you if further information is needed.
Manage a Case
You can manage open cases in the UKG Community to view information about the current status, communicate with the case owner, and accept or reject a resolution.
- From the Welcome page, use one of the following methods to navigate to the appropriate case:
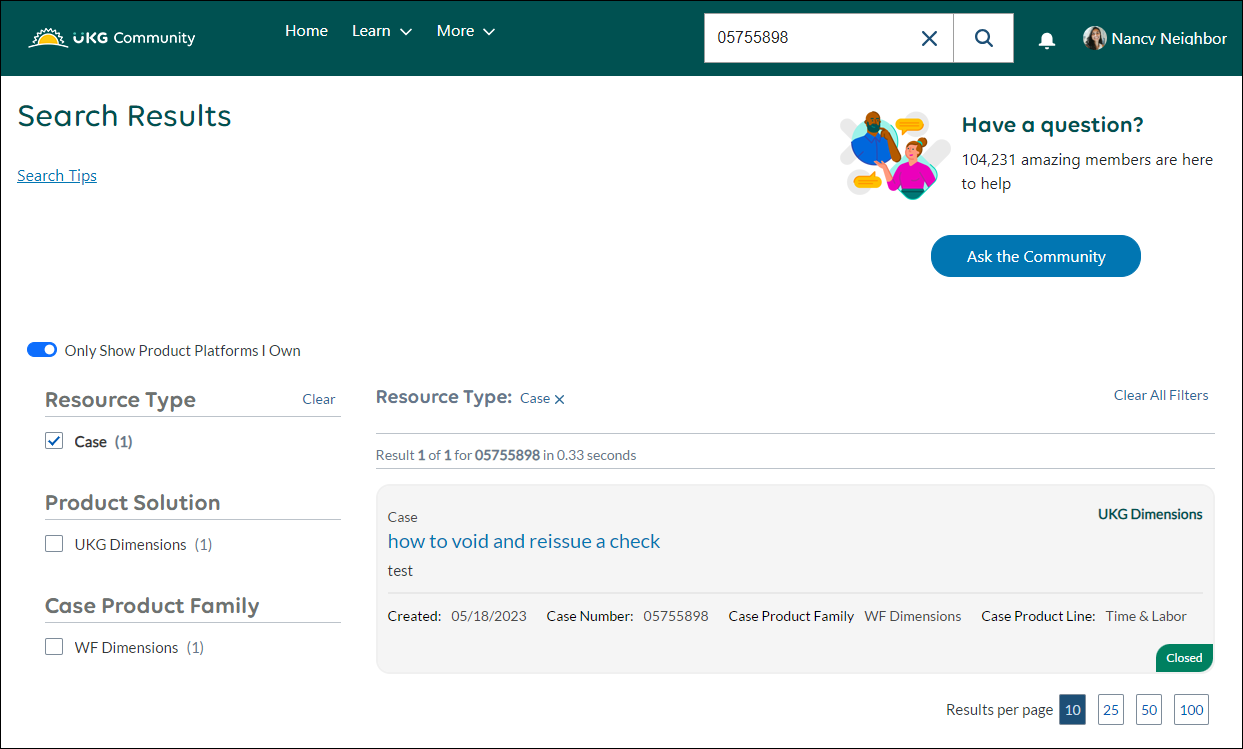
- To search for a specific case, in the UKG Community search bar, enter the appropriate Keyword or Case Number, and then press Enter.Note If you are a UKG Pro Payment Services customer, the Case Number that appears in the search results may not match the Case Number you received by email after opening the case. If the numbers don't match, verify that the subject of the case is correct. If the subject is correct, then you found the correct case.
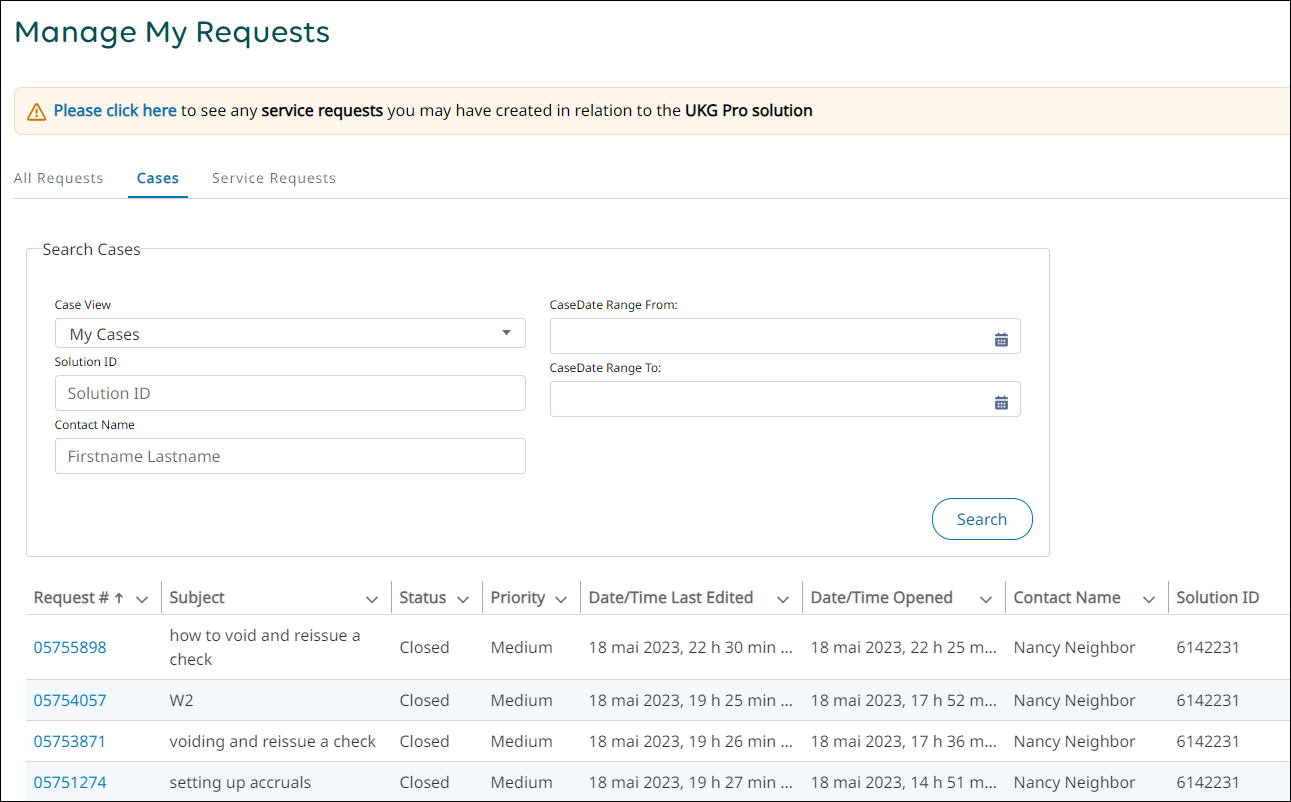
- To view all available cases, from the Navigation bar, select Services and Support, and then select Manage Cases from the Support box.Tip You can use the fields in the Search Cases section to filter the table by owner, Solution ID, Contact Name, and Date Range. To sort the cases that appear in the table in ascending or descending order, select a column header.
- To search for a specific case, in the UKG Community search bar, enter the appropriate Keyword or Case Number, and then press Enter.
- (Optional) Select the Show More icon beside the progress bar to view more information about the current status.

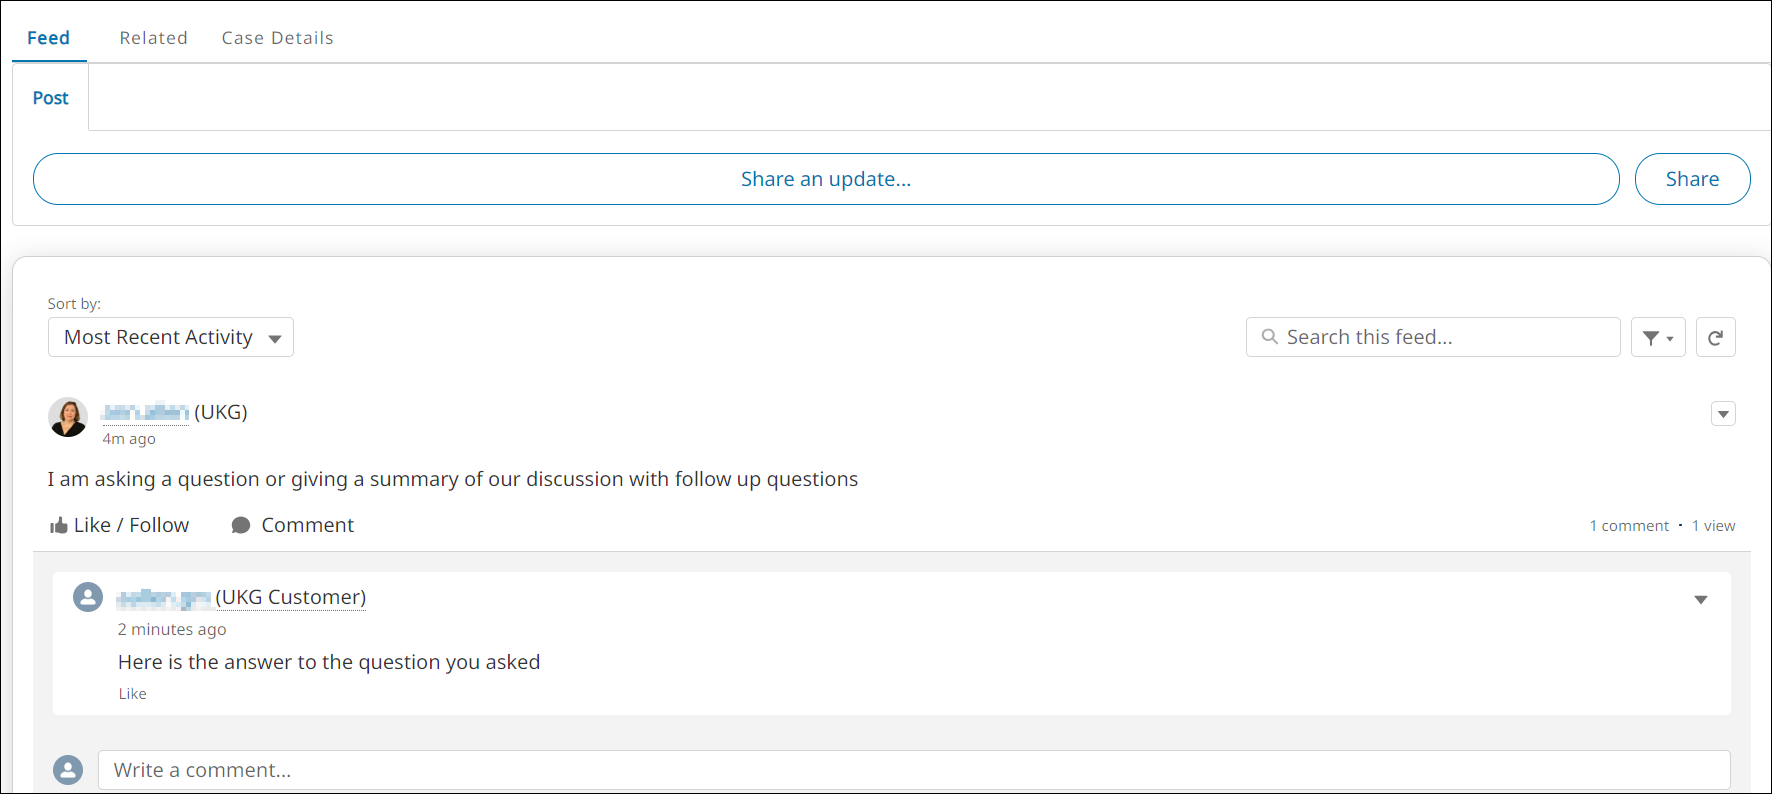
- (Optional) Use the Feed, Related, and Case Details tabs to communicate with the case owner.
- Select the Feed tab to post updates and read comments from the case owner.Note If you need to close a case that is not in the Resolved Pending Confirmation status, you can post a comment on the Feed tab. The case owner will close the case for you.
- Select the Related tab to access or share files, emails, and articles.
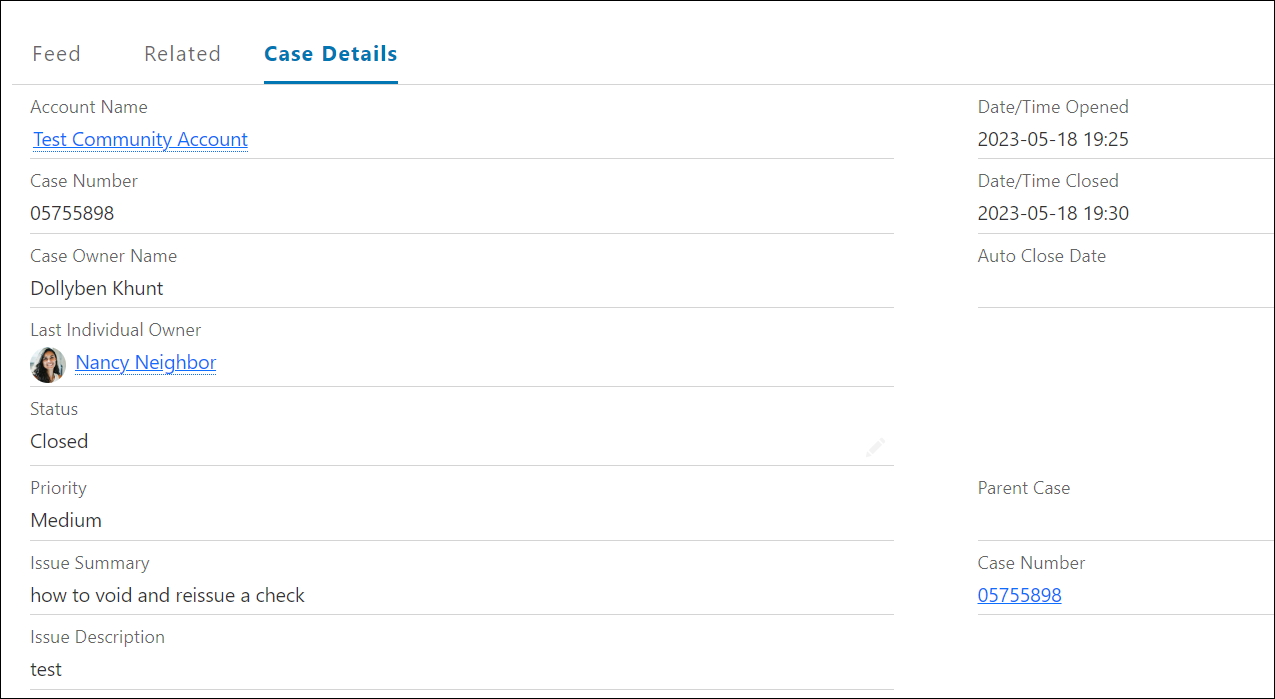
- Select the Case Details tab to view all the case details.
- Select the Feed tab to post updates and read comments from the case owner.
- When your case is in the Resolved Pending Confirmation status, review the most recent feed post from the case owner, and then select the Case Resolution button below the progress bar to accept or reject the resolution:
 Important If you do not accept or reject the resolution, the case will automatically close on the date specified in the Auto Close Date field on the Details tab.
© 2024 UKG Inc. All rights reserved. For a full list of UKG trademarks, visit https://www.ukg.com/trademarks. All other trademarks, if any, are the property of their respective owners.
This document and all information contained herein are provided to you "AS IS" and UKG Inc. and its affiliates (collectively "UKG") make no representation or warranties with respect to the accuracy, reliability, or completeness of this document, and UKG specifically disclaims all warranties, including, but not limited to, implied warranties of merchantability and fitness for a particular purpose. The information in this document is subject to change without notice. The document and its content are confidential information of UKG and may not be disseminated to any third party. No part of this document or its content may be reproduced in any form or by any means or stored in a database or retrieval system without the prior written authorization of UKG. Nothing herein constitutes legal, tax, or other professional advice. All legal, tax, or other questions or concerns should be directed to your legal counsel, tax consultant, or other professional advisor. All company, organization, person, and event references are fictional. Any resemblance to actual companies, organizations, persons, and events is entirely coincidental.