Add, Manage, and Remove Users in the UKG Community
Manage UKG Community Contacts
Focal administrators (for accounts with the UKG Pro solution) and support administrators (for accounts with UKG Pro WFM and all other solutions) can update access for the active UKG Community contacts in their organization and reset passwords for selected contacts.
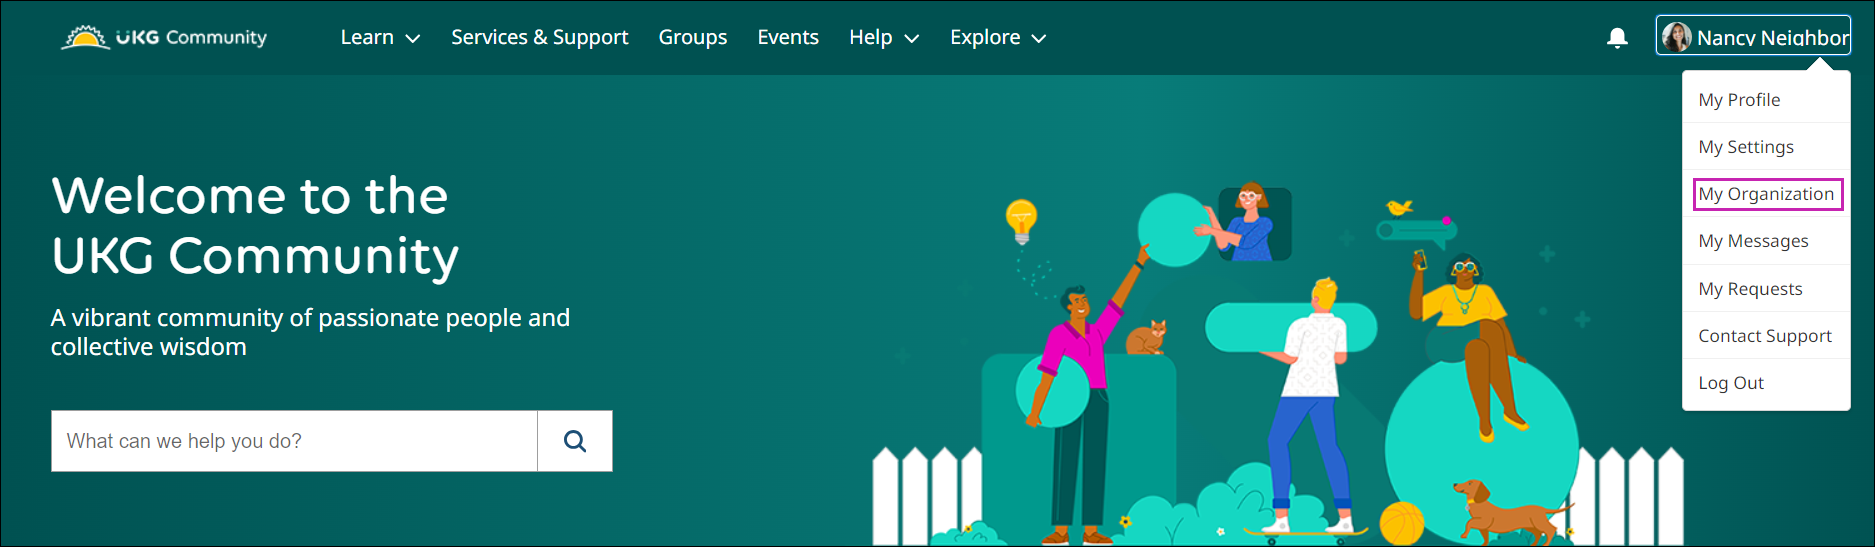
- From the UKG Community home page, select the profile menu > My Organization.
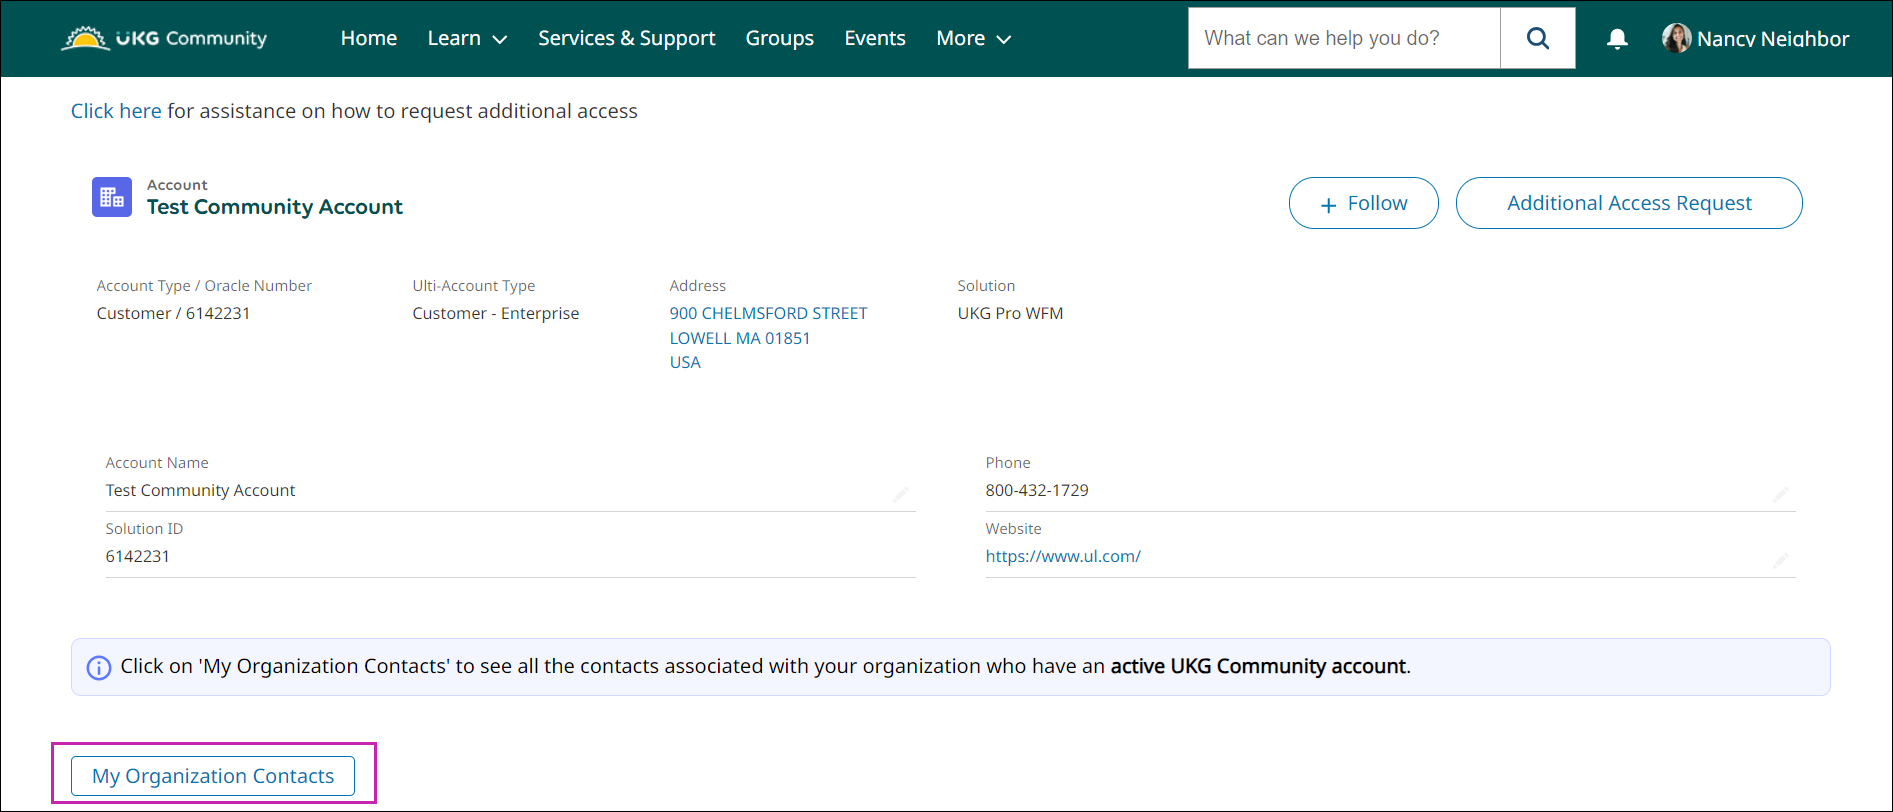
- From the My Organization page, select My Organization Contacts.
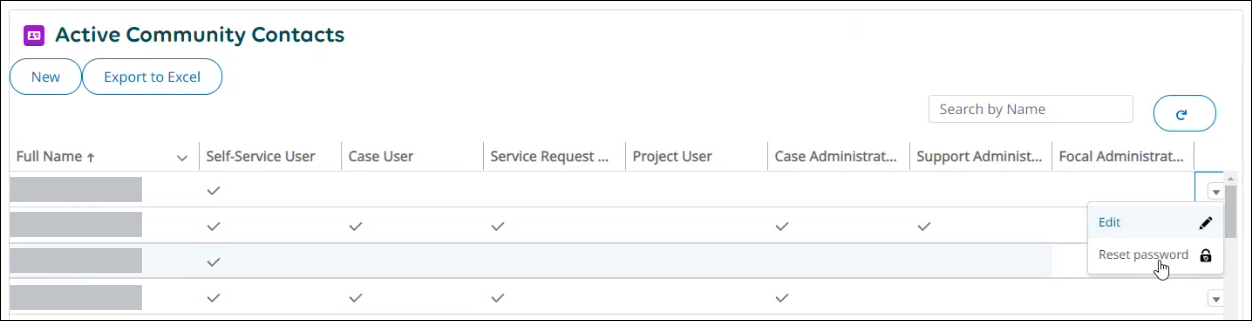
- From the Contacts page, for a user, select the down arrow icon and then select one of two options:
- Edit
- Reset Password
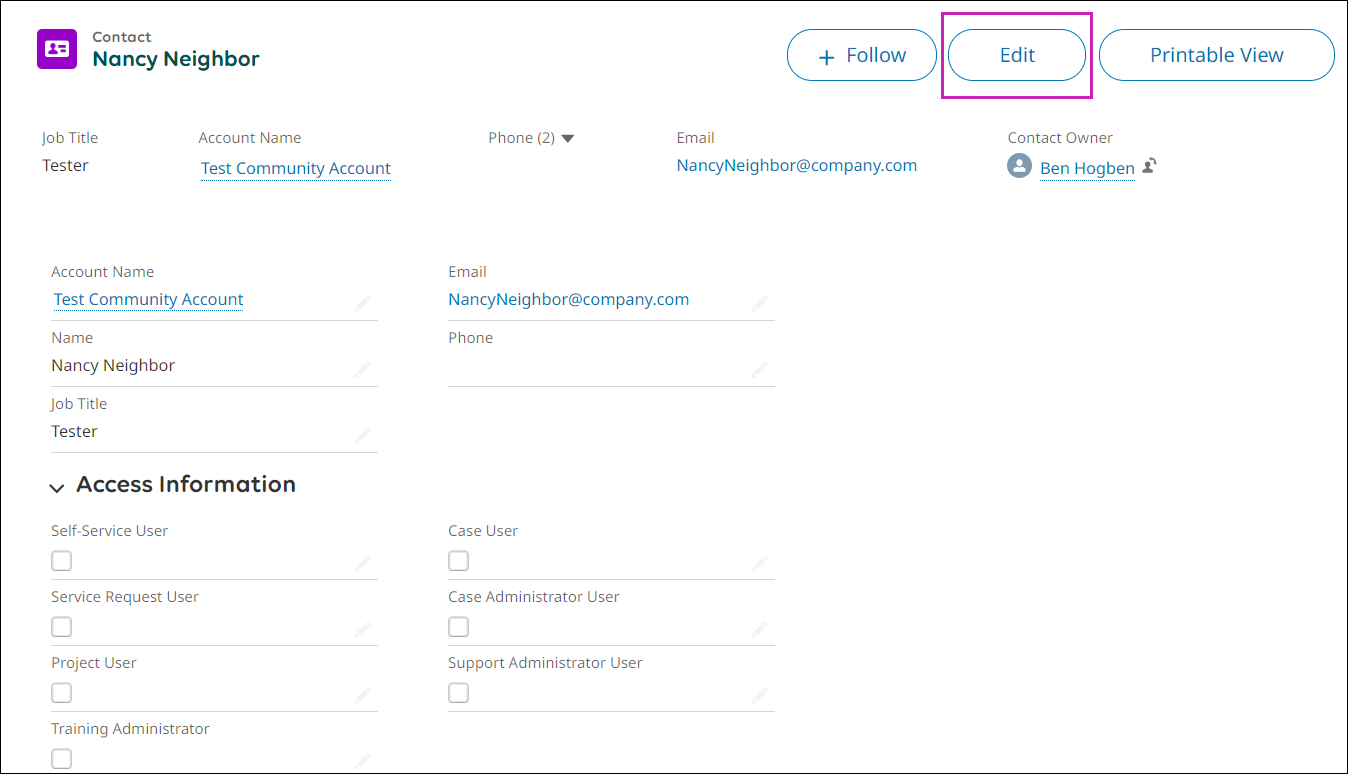
- If you chose Edit, from the Edit Contact window, in the Access Information section, select or deselect boxes for the different levels of access.
Option Description Guest User Users who can access publicly available product documentation. No registration or log in is required to access this content. Self-Service User Users who have base access to the UKG Community, including the ability to search, ask questions, collaborate with other community members, and access content and learning material. This access is assigned by default when a user self-registers to the UKG Community. Case User Includes Self-Service User access, plus the ability to create cases and manage your own cases. If you select this checkbox, the Self-Service User checkbox is automatically selected after you save. Note Based on your account's access, Case Users may be restricted from submitting Payroll or Benefits cases.Service Request User Includes Self-Service User access, plus the ability to create and manage your own service requests. If you select this checkbox, the Self-Service User checkbox is automatically selected after you save. Note Based on your account access, you may not have the option to assign Service Request Users.Project User (formerly known as Activation User in our Legacy Ultimate Community) Includes Self-Service User access, plus the ability to access the project console (for our Legacy Ultimate project users) and to the Launch application (for our UKG Pro, UKG Dimensions, and UKG Ready users). Case Administrator User Includes Self-Service User access and Case User access, plus the ability to view and manage all cases at your primary account or other accounts that you support. If you select this checkbox, the Case User and Self-Service User checkboxes are automatically selected after you save. Training Administrator Users who can assign courses and learning journeys to individual training users in their organization. Support Administrator User Includes Case Administrator User, Service Request User, Case User, and Self-Service User access, plus the ability to create new users and manage the access for other users of your primary account. This user type is for accounts with UKG Pro WFM and all other solutions. Accounts with the UKG Pro solution should have a Focal Administrator designated – view this job aid for more information. 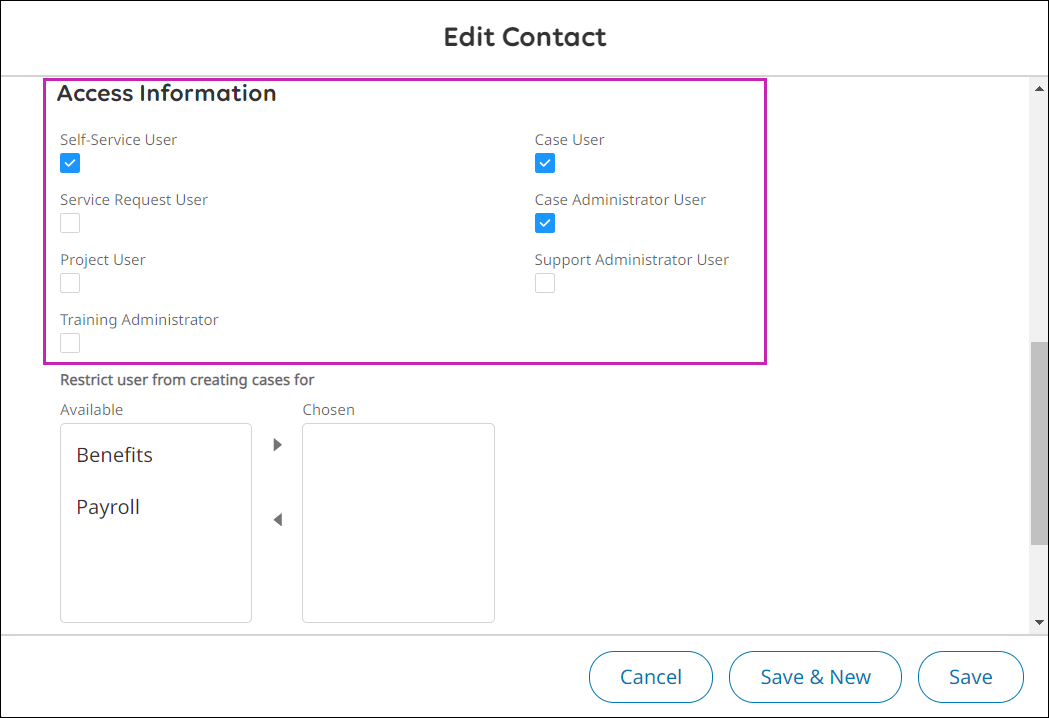
Respond to Additional Access Request
When a customer contact requests additional access in the UKG Community, a Support Admin or Focal Admin from their organization can approve or reject the request.
- In the Additional Access Request for Approval section, select the specific request.
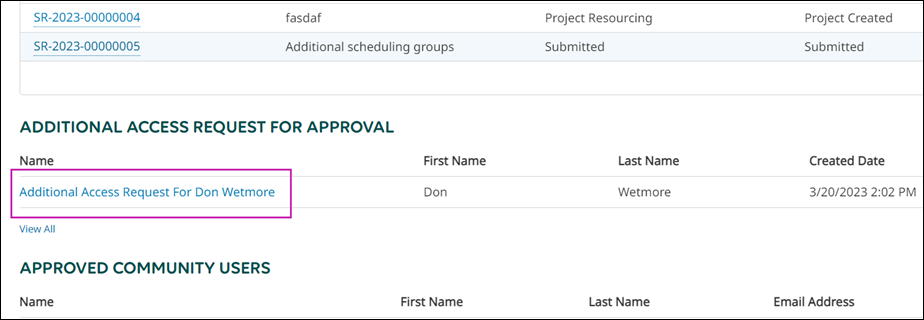
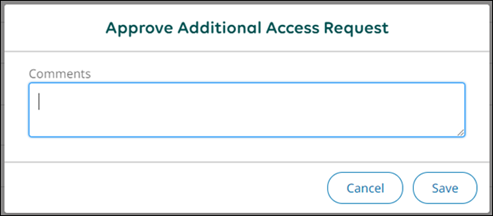
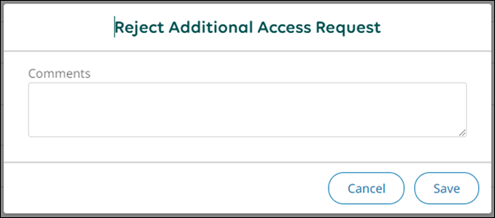
- From the request, select either the Approve Additional Access Request or Reject Additional Access Request button. Fill in the Comments and select Save.Your request is sent to your Organization's Support Administrator(s) for approval, and you will be notified by email whether your request was approved or rejected.
Restrict Case Users from Submitting Benefits and Payroll Cases
Focal administrators (for accounts with the UKG Pro solution) and support administrators (for accounts with UKG Pro WFM and all other solutions) can restrict case users from submitting Benefits and Payroll type cases via the UKG Community.
- From the Contacts page, for a user, select the down arrow icon and then select Edit.
- From the Edit Contact window, in the Restrict user from creating cases for section, select Benefits, Payroll, or both and use the right arrow to move the selected option(s) from the Available list to the Chosen list.
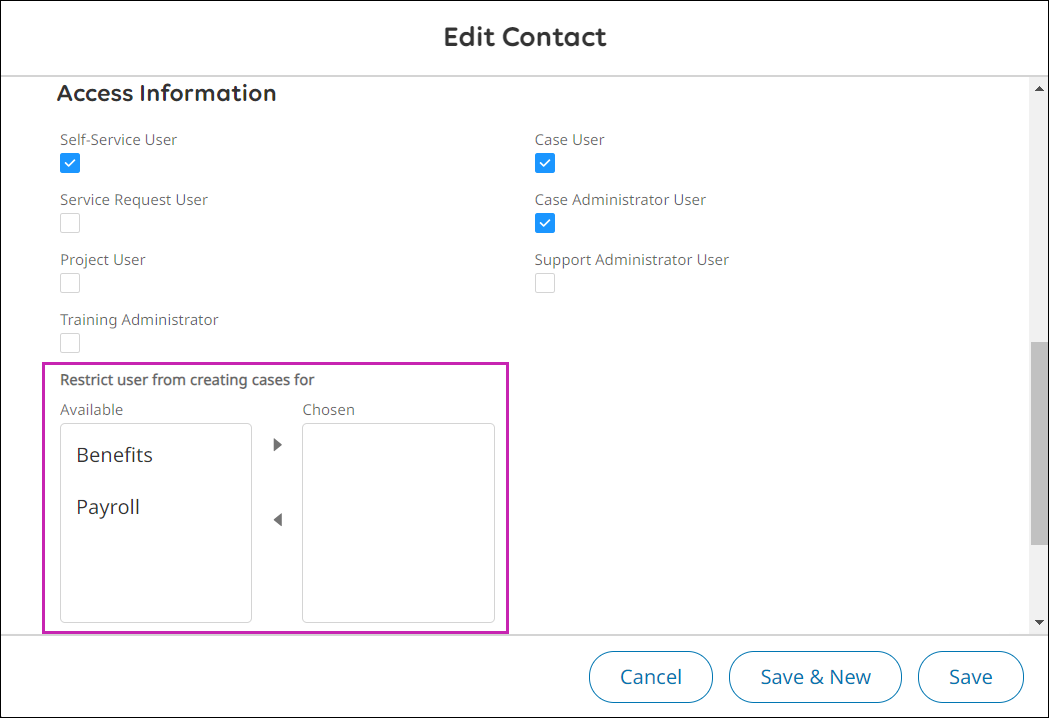
- Select Save.
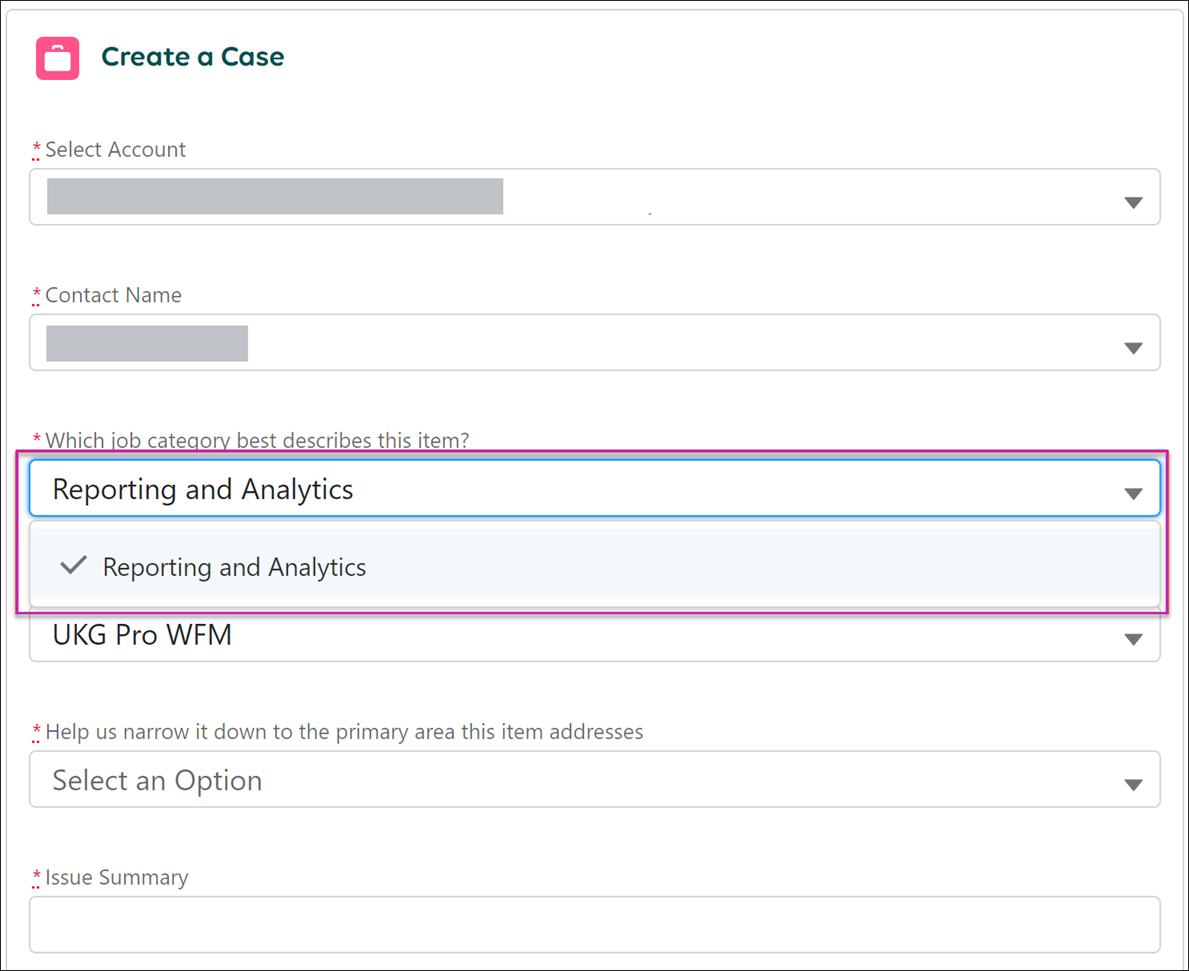
The applied restrictions will prevent the contact from being able to select Payroll and/or Benefits options as part of the Job Category picklist options. For example, if Payroll is selected as a Chosen restriction, the contact will not have the Payroll option from the Create a Case form, therefore restricting the Product Solution options that can be selected.
Use this same process to update the contact's restrictions.
Allow a Related Company Contact to Create and Manage Service Requests
Focal administrators (for accounts with the UKG Pro solution) and support administrators (for accounts with UKG Pro WFM and all other solutions) can allow Related Company Contacts to create and manage their own service requests.
- From the My Organization page, select My Organization Contacts.
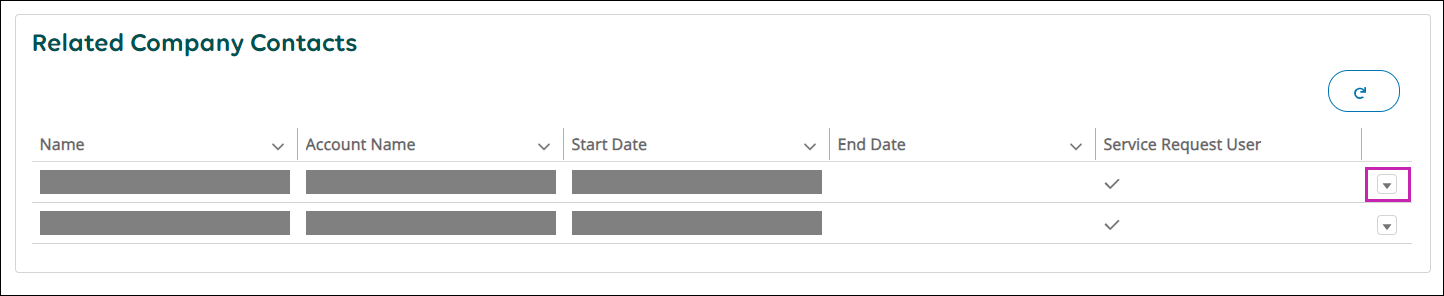
- From the Contacts page, scroll to the Related Company Contacts table, select the down arrow icon for the appropriate contact, and then select Edit.Note If the appropriate contact is not in the Related Company Contacts table, submit a support case to add them.
- In the Start Date field, specify the date to begin access.
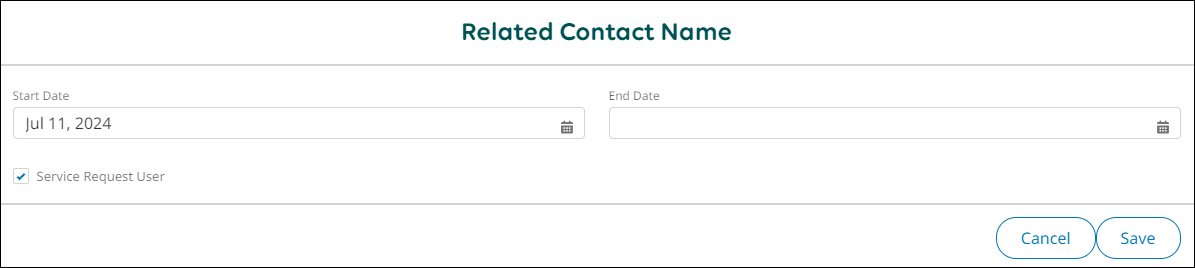 If you select the current date, the Service Request User checkbox is checked automatically. If you select a date in the future, the Service Request User checkbox is not checked until after the specified date.
Restrict a Related Company Contact from Creating and Managing Service Requests
If a Related Company Contact was previously allowed to create and manage service requests, focal administrators and support administrators can edit the contact and remove access.
- From the My Organization page, select My Organization Contacts.
Remove UKG Community Contacts
Focal administrators (for accounts with the UKG Pro solution) and support administrators (for accounts with UKG Pro WFM and all other solutions) can remove a contact who has completely left their company or organization or simply remove a contact's access to the UKG Community.
Remove UKG Community Contacts Who Have Left Your Company or Organization
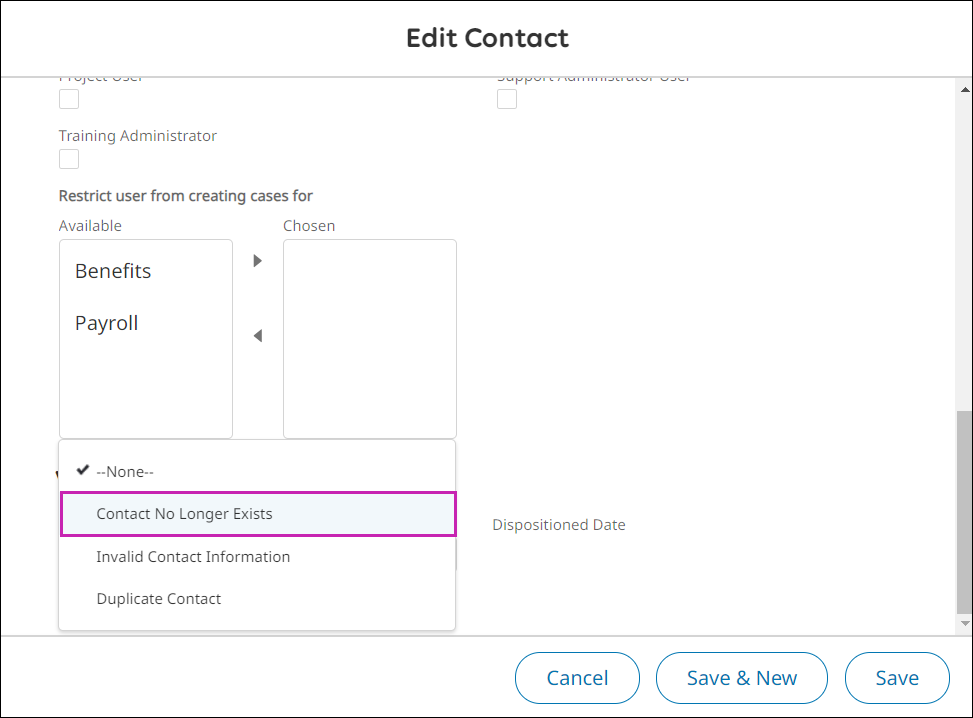
- From the Contacts page, for a user, select the down arrow icon and then select Edit.
- From the Edit Contact window, in the Verification Status section, select Contact No Longer Exists.
Remove UKG Community Contacts Who Belong to Your Company or Organization
You can remove a contact from the UKG Community who still belongs to your company or organization.
Add UKG Community Contacts
Focal administrators (for accounts with the UKG Pro solution) and support administrators (for accounts with UKG Pro WFM and all other solutions) can add contacts to the UKG Community.
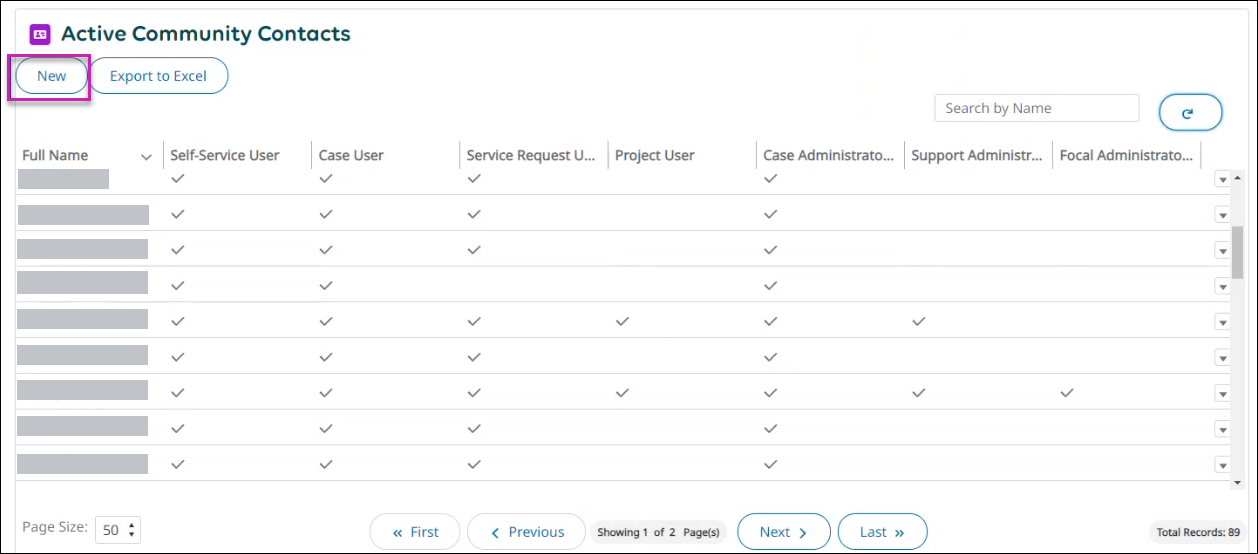
- From the My Organization page, select My Organization Contacts.
- From the Contacts page, select New.
- Enter the required information:
- At the Name field, enter a first and last name.
- At the Email field, enter an email.Note The email must have a company email domain. Non-company emails are not allowed.
- At the Title field, enter a title.
- In the Access Information section, select levels of access.
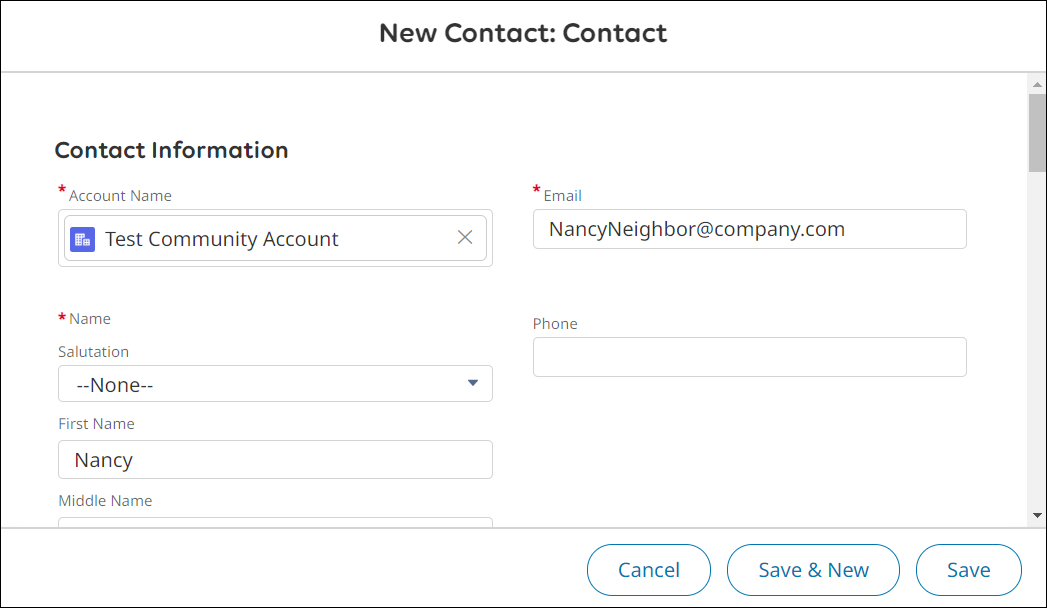
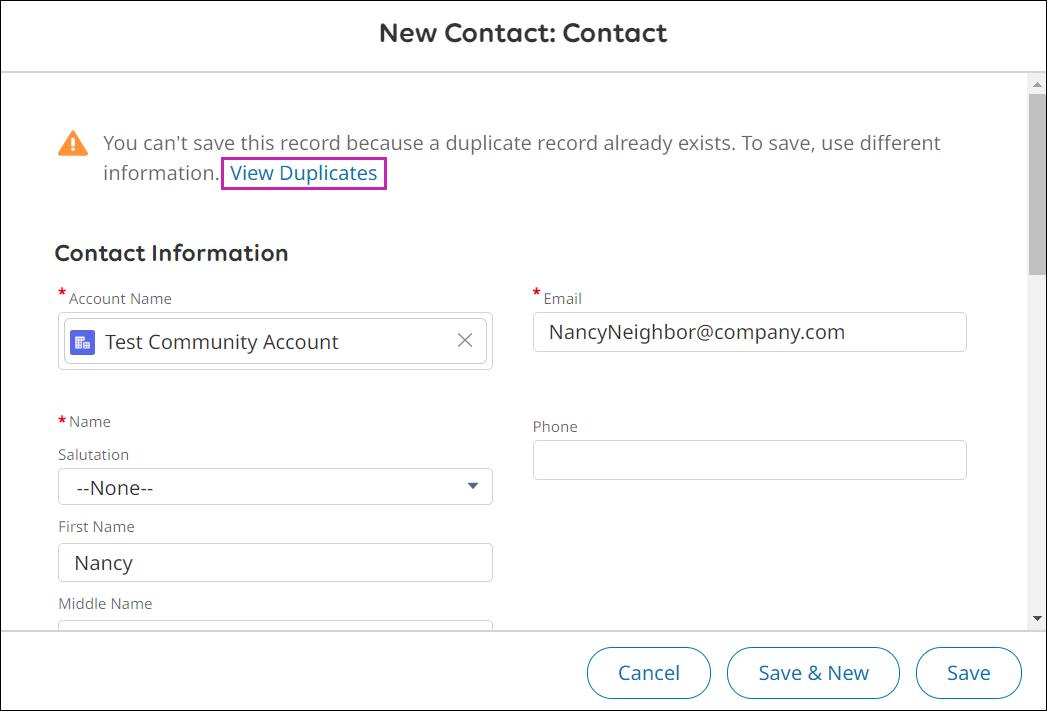
- Select Save.Note If the contact already exists, a warning message appears. To view the existing contact, select View Duplicates.
To view the contact's page, select Open This Contact.
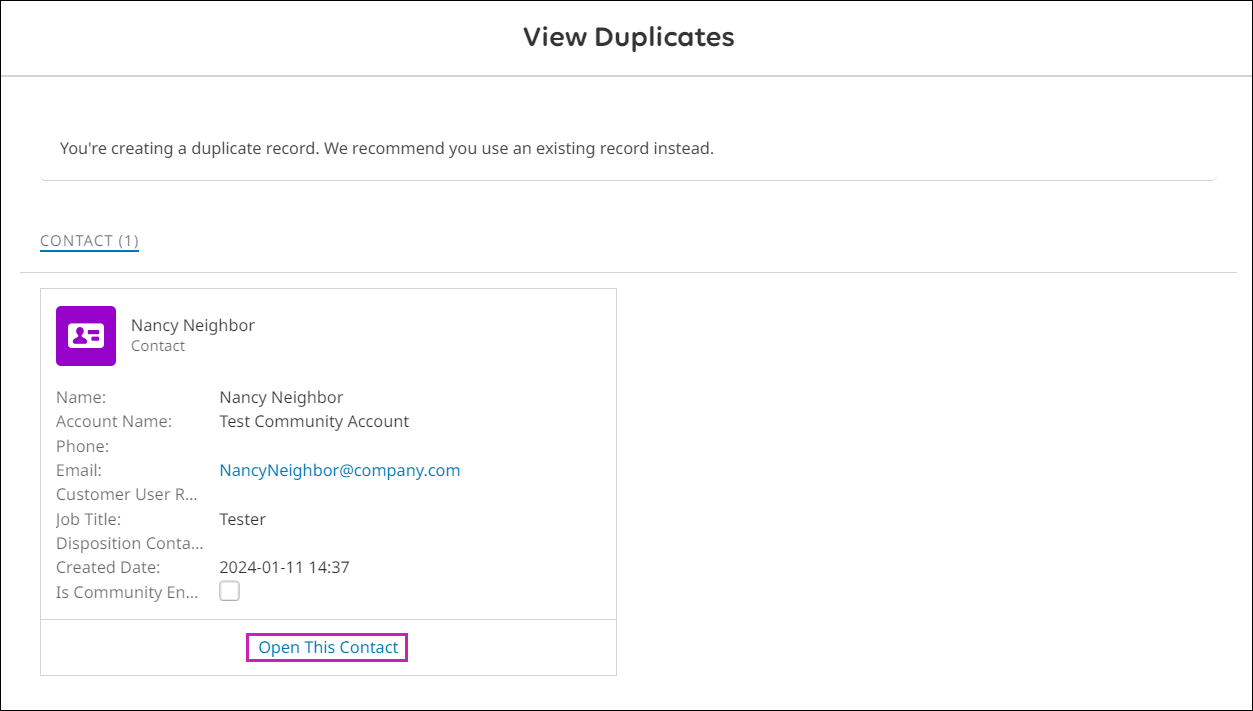
From the contact's page, select Edit to update the contact's information. To send the contact a welcome email with UKG Community login details, select the appropriate levels of access and save the changes.
 When a new contact is added, a welcome email from the UKG Community will be sent to the email you provided. A link to create the password is provided in the email.
Add Focal or Support Administrators
Every organization should have at least one focal administrator (for accounts with the UKG Pro solution) or support administrator (for accounts with UKG Pro WFM and all other solutions).
© 2024 UKG Inc. All rights reserved. For a full list of UKG trademarks, visit https://www.ukg.com/trademarks. All other trademarks, if any, are the property of their respective owners.
This document and all information contained herein are provided to you "AS IS" and UKG Inc. and its affiliates (collectively "UKG") make no representation or warranties with respect to the accuracy, reliability, or completeness of this document, and UKG specifically disclaims all warranties, including, but not limited to, implied warranties of merchantability and fitness for a particular purpose. The information in this document is subject to change without notice. The document and its content are confidential information of UKG and may not be disseminated to any third party. No part of this document or its content may be reproduced in any form or by any means or stored in a database or retrieval system without the prior written authorization of UKG. Nothing herein constitutes legal, tax, or other professional advice. All legal, tax, or other questions or concerns should be directed to your legal counsel, tax consultant, or other professional advisor. All company, organization, person, and event references are fictional. Any resemblance to actual companies, organizations, persons, and events is entirely coincidental.