Set up an account with the correct permissions to connect your Microsoft calendar service to Recruiting. Supported services are Microsoft Exchange and Microsoft Office 365.
Important:
These instructions are intended for your organization's email domain administrator. Regular users do not have permission to create the service account.
To allow access to your company Microsoft Office 365 or on-premise Microsoft Exchange calendar service, you’ll need to configure a Service Account to manage events in the calendars of your users. Then you'll configure the Service Account with the ApplicationImpersonation role.
The Calendar Integration feature only accesses the calendar folders in a mailbox. However, if required by your organization, you can restrict the access of your Service Account to explicitly prevent it from accessing email folders.
To allow the Calendar Integration feature to create events on your company calendar, the Service Account must have write access to the mailbox. If you restrict the account to availability information only, Recruiting cannot reserve time on your interviewers' calendars.
For more general help with configuring service accounts and the ApplicationImpersonation role, refer to the Microsoft help.
Note:
If you encounter problems setting up the Service Account, Cronofy has provided some useful Windows PowerShell commands that can help diagnose the most common configuration issues. View the troubleshooting document.
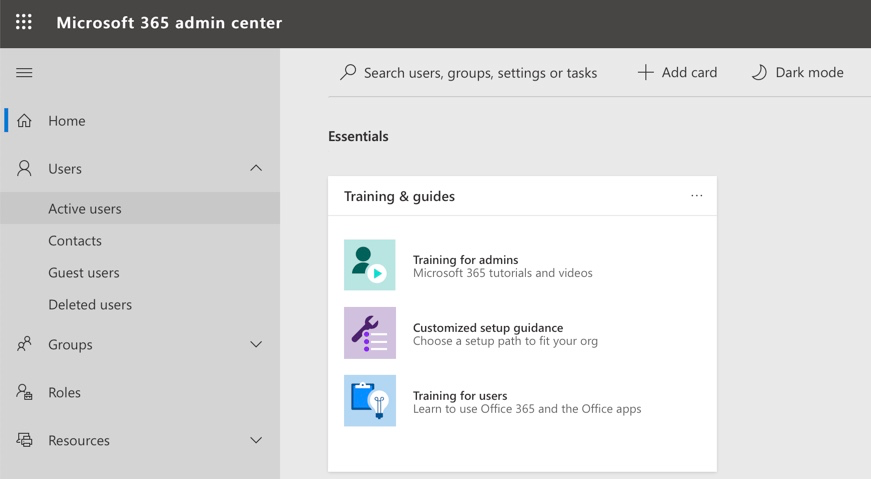
- Go to Office
365 admin center > USERS > Active Users.
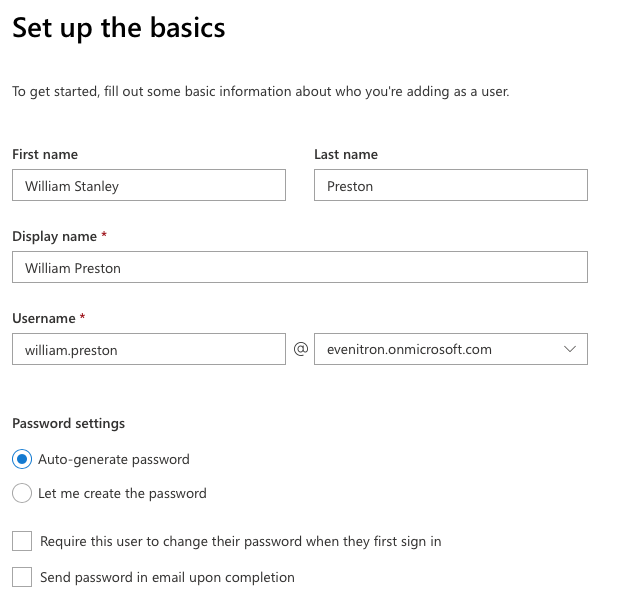
- Fill in the required information for the Service Account:
- Enter the first name, last name, display name, user name, and your email domain.
- Select Let me create the password and enter the password for the service account. Uncheck the “Require this user to change their password when they first sign in” checkbox.
- Enter the email address of the recipient to whom the password must be sent. Select Create.
- Assign a license, and finish the account creation wizard by checking the details and selecting Next.
Note:
In order for Rooms and Resources on your Office365/Exchange domain to function with Cronofy, the Service Account must have an Office 365 E3 (or higher) license to sync users, and an active mailbox associated with it.
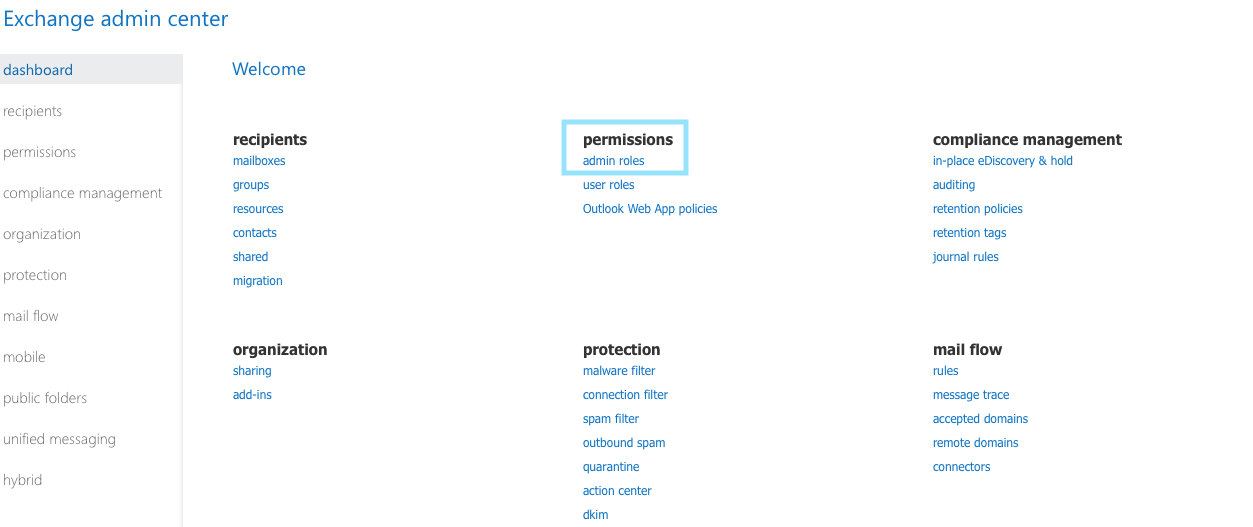
- Configure the Service Account to assign the ApplicationImpersonation role.The ApplicationImpersonation role allows Service Accounts to manage events on behalf of rooms and users, with full audit logs.
- In the Office 365 Admin portal, go to Permissions.
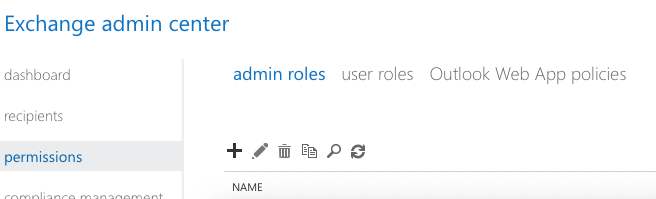
- Select admin roles, then select the plus icon
(+).
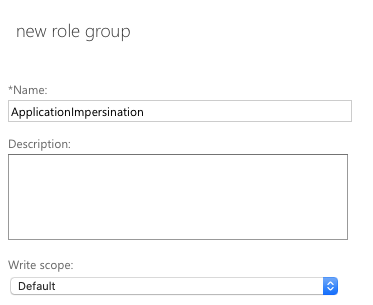
- Enter the required information:
- In Role name, enter: ApplicationImpersonation
- In Write scope, select Default.
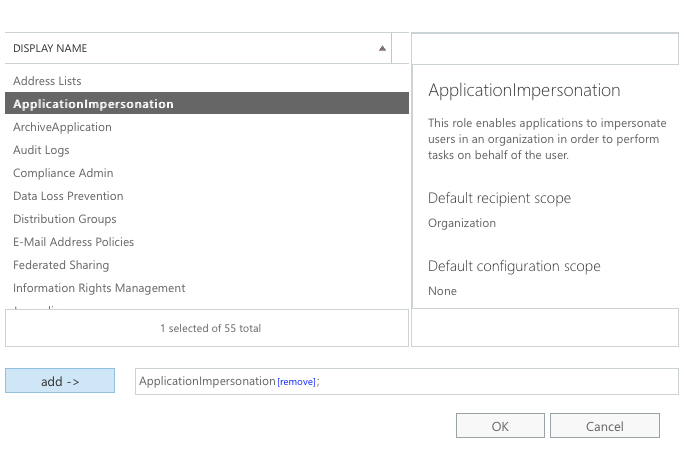
- Select the plus icon (+) above Roles, and select
ApplicationImpersonation from the list. Select
Add, then select OK.
- Select the plus icon (+) above Members, and select your
Service Account from the list. Select Add, then select
OK.

- In the Office 365 Admin portal, go to Permissions.