Administrators can configure the options that Recruiters and Hiring Managers can use to schedule candidate interviews. Administrators can adjust Hiring Manager permissions to allow or prevent scheduling interviews in if desired.
The Recruiting solution offers two ways to contact applicants to set up interviews:
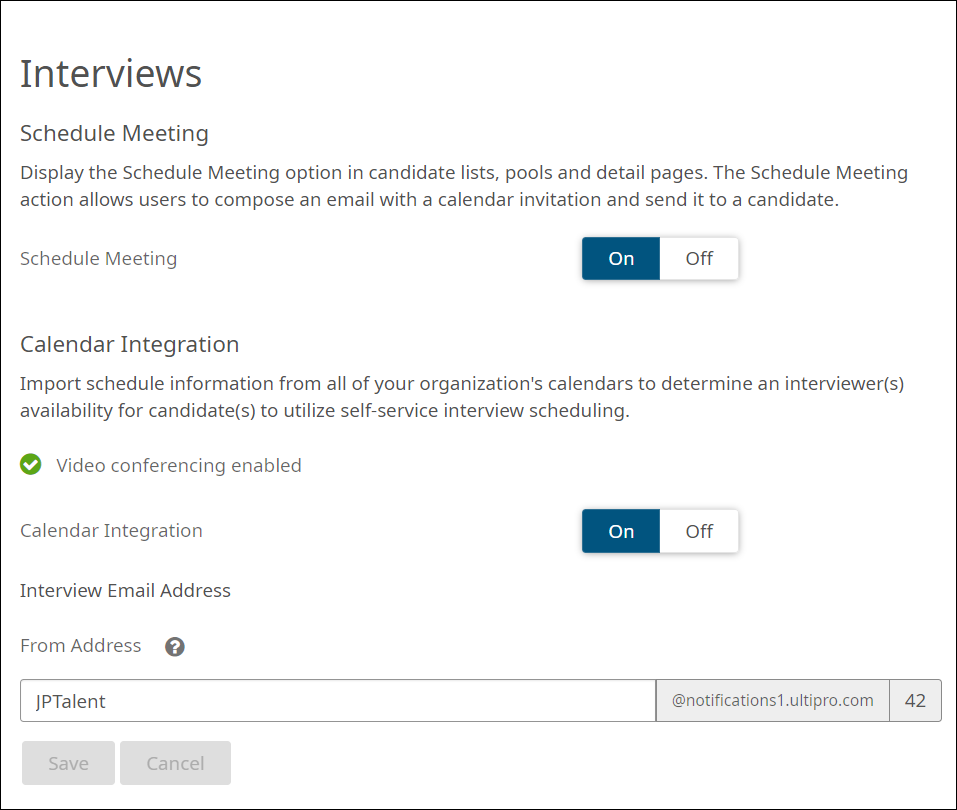
- Schedule Meeting: This option controls the Schedule Meeting action in applicant lists, candidate pools, and on the People page. When Recruiters or Hiring Managers select Schedule Meeting, they can compose an email that requests a meeting.
- Calendar Integration: This option controls the Schedule Interview action in applicant lists. When Recruiters or Hiring Managers select Schedule Interview, they can access an interactive calendar to select an available time slot based on the interviewers' schedules.
UKG has partnered with Cronofy to present the interactive calendar and sync it with your organization’s calendar. Cronofy provides secure two-way calendar sync to connect the Recruiting solution with your users' calendars.
Cronofy communicates with your organization’s calendar service, and retrieves availability information for specific interviewers. The interactive calendar only displays their availability, not specific appointment details. The calendar information updates in real time.
Cronofy also creates appointments in your organization’s calendar. When you set up an interview in Recruiting, Cronofy creates an appointment in the interviewers’ calendars.
The Calendar Integration feature works with Google Calendar, Microsoft Office 365, and Microsoft Exchange.
Important:
To use the video conferencing feature in the Recruiting solution, link an Office 365 or Google account. The video conferencing feature does not integrate when using Microsoft Exchange with Exchange Web Services and a Service Account.
Before you can set up Calendar Integration, you'll need to coordinate with your organization’s IT team to make these preparations:
-
Obtain login credentials (email address and password) for the account that manages your organization’s calendar. This is different from your individual email account.
- For Google Calendar, the administrator of your Google Apps domain needs to Install the Cronofy Application in Google Workspace.
- For Microsoft Office 365 you will need access to the Azure Active Directory Global Administrator account to approve the connection. You may need to contact your Email Domain Administrator to obtain these credentials. See the Connect Office 365 with Microsoft's Graph API help topic for more information on how to complete this process.
- For Microsoft Exchange, you might need help from your organization’s IT team to create a Service Account to use with Cronofy. Obtain the address of the Microsoft Exchange Server, and the DOMAIN\username of the account that manages your organization's calendar. For more information about creating a Service Account, see Create a Service Account to Connect to Microsoft Calendar Services.
Note:
Video conferencing will not work with a Microsoft Exchange Service Account. To use video conferencing, please connect your organization's Google or Microsoft Office 365 (via Graph API) account.
Note:
Recruiting users can use the Schedule Interview action on applicants who are in the Interview phase of your recruiting process. Before you turn on the Calendar Integration feature, ensure that at least one step of your recruiting process is assigned to the Interview phase. For more information, see Recruiting Process Phases and Steps, and Configure a Recruiting Process.
Frequently asked questions about the Interview Scheduling feature:
| Question | Answer |
|---|---|
| Is Cronofy compliant with the GDPR? | You can find Cronofy's GDPR compliance information on their website. |
| Is there any additional cost for this feature? | The feature is currently available at no additional cost. |
| Can my organization restrict Cronofy's access to free/busy information only? | In order to create and update actual events on your company calendar, Cronofy needs write permission. Unfortunately, restricting access to only free/busy information does not grant write permission, and prevents Cronofy from updating your company calendar. |
| Why did you change to support a Graph API connection? | Cronofy has developed a new integration for connecting Office 365 calendars using Microsoft's Graph API. This will replace Exchange Web Services (EWS) as their preferred integration mechanism in the future. |
| What benefit does Microsoft Graph API provide? |
Microsoft's Graph API provides two key benefits:
|
| Will the customer know if they are connected via Graph API for Video Conferencing? | Yes, We have provided UI messaging for the Recruiting Administrators to successfully know if video conferencing is available and, if it is not, what they can do. |
- If you turned on Calendar Integration, connect to the calendar and grant access to Cronofy Enterprise Connect:
- In the dialog box, select the calendar service that your organization uses.
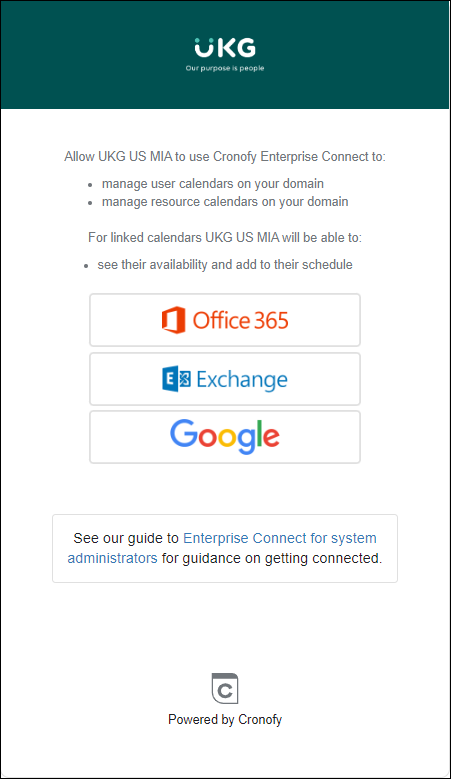
- Accept the Cronofy terms of service and privacy policy, and select the button to link the account.
The options depend on which calendar service you are connecting:
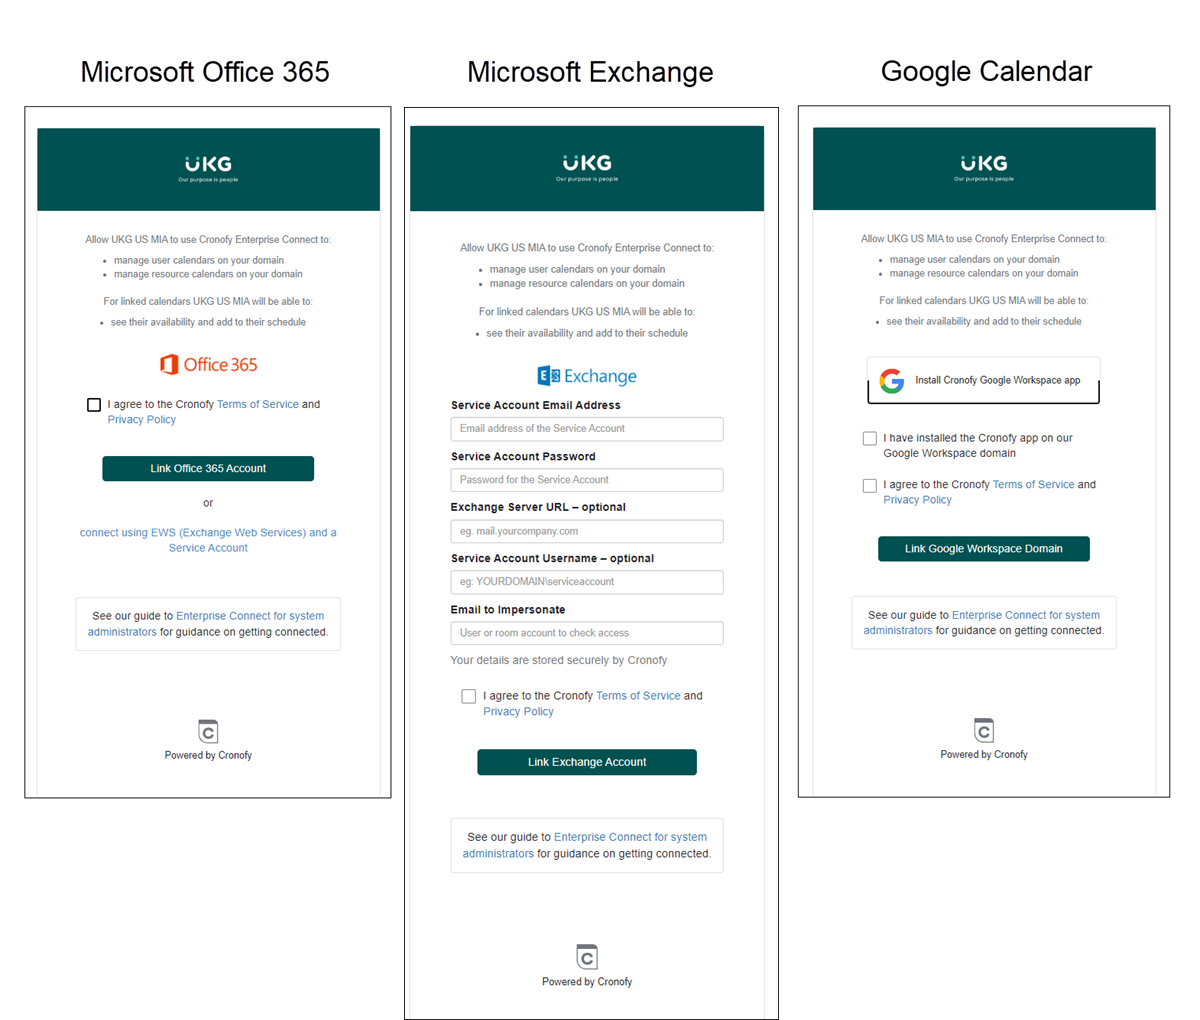
The dialog box takes you to the login page for your calendar service.
- Log in to your organization's calendar service account. Be sure to use the account that manages your organization's calendar, not your individual account. Select the Use Another Account link if needed to specify your organization's service account.
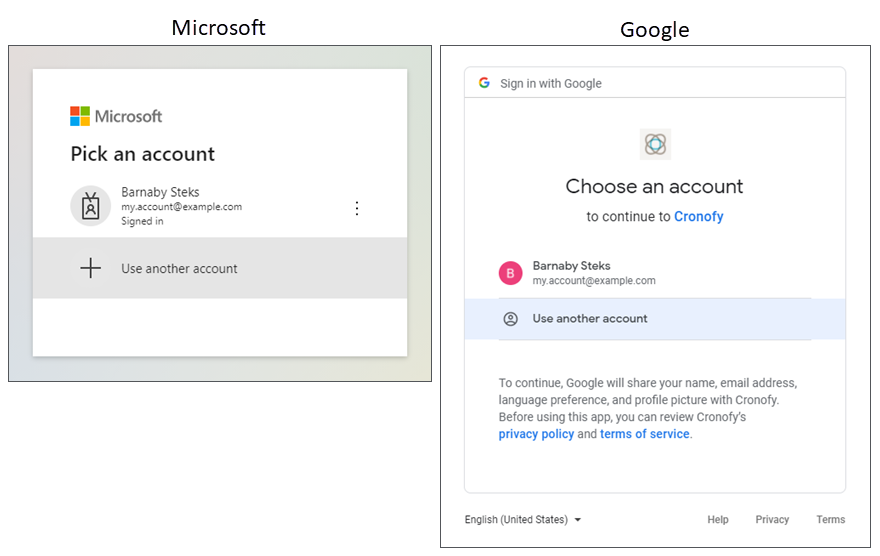
- Follow the prompts to Allow or Link Account.The options depend on which service you are connecting.
- For Office 365, you will see a Permissions Requested pop-up twice; once to confirm your Office 365 tenancy, and then to request the necessary scopes for Enterprise Connect. Select Accept on these pop-ups to continue. Once complete, you will be redirected to the Recruiting solution and your calendars will synchronize. See the Connect Office 365 with Microsoft's Graph API help topic for more information on how to complete this process.
- • For Google, simply authorize calendar access for your domain. You will be redirected to the Recruiting solution and your calendars will synchronize. See the Install the Cronofy Application in Google Workspace help topic for more information on completing this process.
If you are connecting Google or Office 365 via Graph API, once video conferencing is available you will see a green check mark icon and "Video conferencing enabled" on the page in the Calendar Integration section: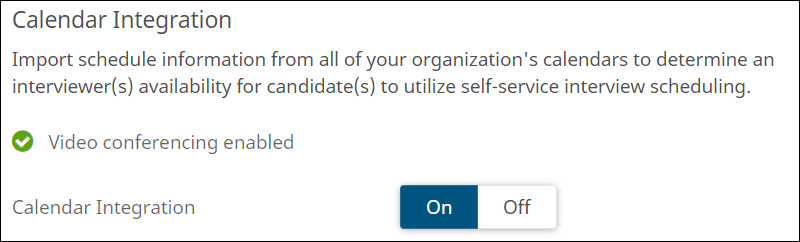 If Video Conferencing is not available, you will see a red X icon and "Video Conferencing not enabled." Hovering over the question mark icon provides the following information: "We now have video conferencing available! Right now you are using Exchange Web Services (EWS) or a Service Account to connect your calendar, which doesn't support our new video conferencing feature. To use video conferencing, link and Office 365 account via Cronofy. For more information, please see the Interviews topic on the Recruiting Help site."
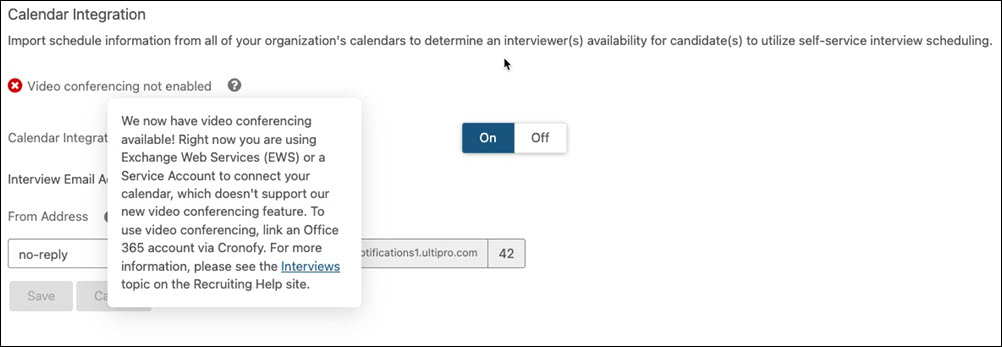
- In the dialog box, select the calendar service that your organization uses.
- On the Interviews settings page, in Interview Email Address, customize the email address that appears in the From field of interview notification emails, if needed.
The server and domain name are read-only, but you can customize the account name that comes before the @.