From the Company Information tab, you’ll configure information about the company, such as company, location, and org levels.
Navigation:
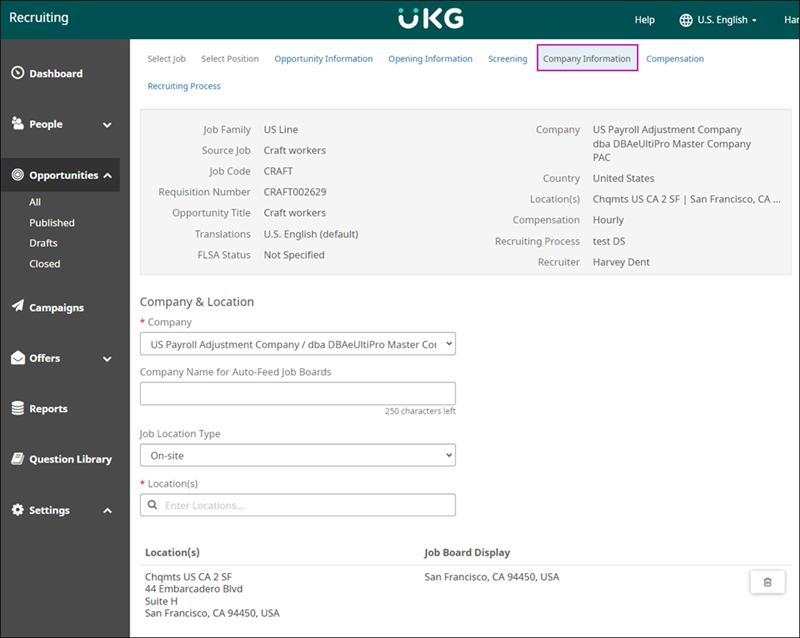
- From the Company drop-down list, select a company the employee will work for. This drop-down list is populated with values from Company Setup in the UKG Pro solution.
- (Optional) At the Company Name for Auto-Feed Job Boards field, enter a user-friendly company name to display on third-party job boards.
Note:
For non-Indeed job boards the
Recruiting solution sends:
- The entered Company Name for Auto-Feed Job Boards
- The selected company's name
- The company's Doing Business As (D/B/A) name (if applicable)
For Indeed job boards, the
Recruiting solution uses the following hierarchy:
- The Company Name for Auto-Feed Job Boards. If null,
- The company's D/B/A. If null,
- Company name
- At the Job Location Type drop-down list, choose from Hybrid, On-site, Remote, or leave blank.
- At the Location field, enter the location where the employee will work. The options available are configured in the Locations business rule in the UKG Pro solution and further configured in in the Recruiting solution.
For Remote job types you may enter the location as:
- A full address
- State and country only
- Country only
- At the Organization Levels section, enter values for the org levels, if needed. The options are populated with values from the Org Level business rule in the UKG Pro solution.
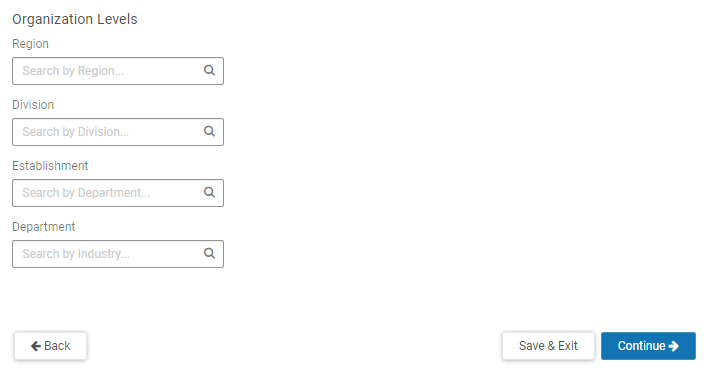
Note:
The Org Level feature must be enabled in . There are additional restrictions that can be applied. For more information, view the Configure Organization Levels help topic.
- Select Continue to continue editing the Opportunity and view the Compensation tab.
Select Save & Exit to save the Opportunity and return to the Opportunities list page.